Hand Appliqué Peg Bag

This isn’t the most exciting post ever, and certainly not the most technical, but I wanted to share this super speedy make with you that turned out way better than expected!

After showing my mum my cute little laundry travel bag I made, she asked if she could have a little drawstring bag to keep her clothes pegs in. As I love to make little drawstring bags and they are a super simple make, I was happy to oblige!

I’ve been trying to find a use for this gorgeous floral fat quarter that I bought at the Millets Craft Shack for a while. I thought a peg bag was a sort of Cath Kidston retro piece of homeware, so actually the bright florals were a great fit!

One thing Cath Kidston does really well is Appliqué. I love the way it gives things a really crafty, homeley feel. I’ve never done any appliqué before, so thought I would take this opportunity to follow Cath’s lead and try some!

I cut out some little paper letter templates spelling the word ‘Pegs’. (Side note- I am realiably informed by some American friends of mine that America does not recognize the word pegs and therefore they had no idea what I was on about, or why I would write ‘pegs’ on a bag.  As such I humbly offer a translation for my American readers which I believe to be ‘clothes pins’.) I used these templates to carefully cut the letters out of some contrasting blue fabric. I then set about hand stitching them on with some yellow thread in a decorative but practical blanket stitch, which I’d had a bit of practice on while making my espadrilles.


You will see that my hand stitching still leaves a lot to be desired! However I did realize by doing this that I am increasingly enjoying sitting and hand stitching in the evening. It totally relaxes my mind. There’s something so peaceful about the rhythmic motion of repeatedly pulling needle and thread through fabric. Who knows, maybe a foray in to cross stitch or embroidery could be up next?!

Once I’d finished applying the letters, I finished off the bag with some contrasting blue drawstrings. This is the third one of these I’ve made now and I was quite proud that I no longer need to follow instructions. I eyeballed for sizing on everything and it actually worked out really well! The more I look at it, the more pleased I am with the finished result. I hope my mum’s pegs (clothes pins ;-)) enjoy their stylish new home!


How about you? Have you tried any new skills recently? Do you also enjoy hand stitching? Is there any easy embroidery or cross stitching I could start on? I’d love to hear from you!

2015 Retrospective and 2016 Sewing Goals

1670_1_wandtattoo_happy_new_year

I may be a little late with the New Year’s greetings, but better late than never ‘ey?! There are a lot of retrospectives at the moment about hits and misses of 2015 on blogs … I too have had my hits and misses of the year – I guiltily confess that I am a more zealous poster of hits than I am of misses!

Despite me thinking that all of my makes when they are finished are my best make yet, there are certainly some that have worked out better than others. For me, hit criteria include anything from having had lots of wear, to being practical, from being beautiful, or to simply bringing me joy. With these criteria in mind, here are my hits:

My Mum’s Quilt: This quilt was a true labour of love, but I love everything about it now it’s finished. I’d learned a lot from my first few quilts and enjoyed having the opportunity to put this in to practice. I love to think of my mum enjoying this quilt and I hope it stays in our family for years to come!

Collette Patterns Moneta: Moneta was the output of my first dressmaking course, so not only is she an incredibly practical garment to wear, but she also holds sentimental value of nights spent at sewing school with Christine. I learnt a lot making this dress, especially about altering a pattern. I’m almost too scared to try and make another, as I don’t think any will be as good as the first!

Tilly and the Buttons Coco Dress: Everything about making this dress was a joy. The fabric choice was perfect, it was my first time using faux leather, I love wearing it, it’s cosy and warm, chic and comfortable … the list of reasons why this dress is a hit is endless! Ironically though, this pattern also contributes to my misses. I tried to make a second version in black, with a boat neckline rather than the cowl neckline and it was a disaster. The fit was bad, I tried to rush it, the boat neckline flashed my bra straps in a really unflattering way … the list of reasons it was a miss is endless. In the end I didn’t even salvage the fabric I am embarrassed to say!

Espadrilles: I love these because they were something totally new to try! The pattern is a great way to use scraps and I found them so comfortable. They were also a good opportunity to practice hand sewing. I really enjoyed wearing them on holiday in Asia, and shall look forward to wearing them all next spring and summer!

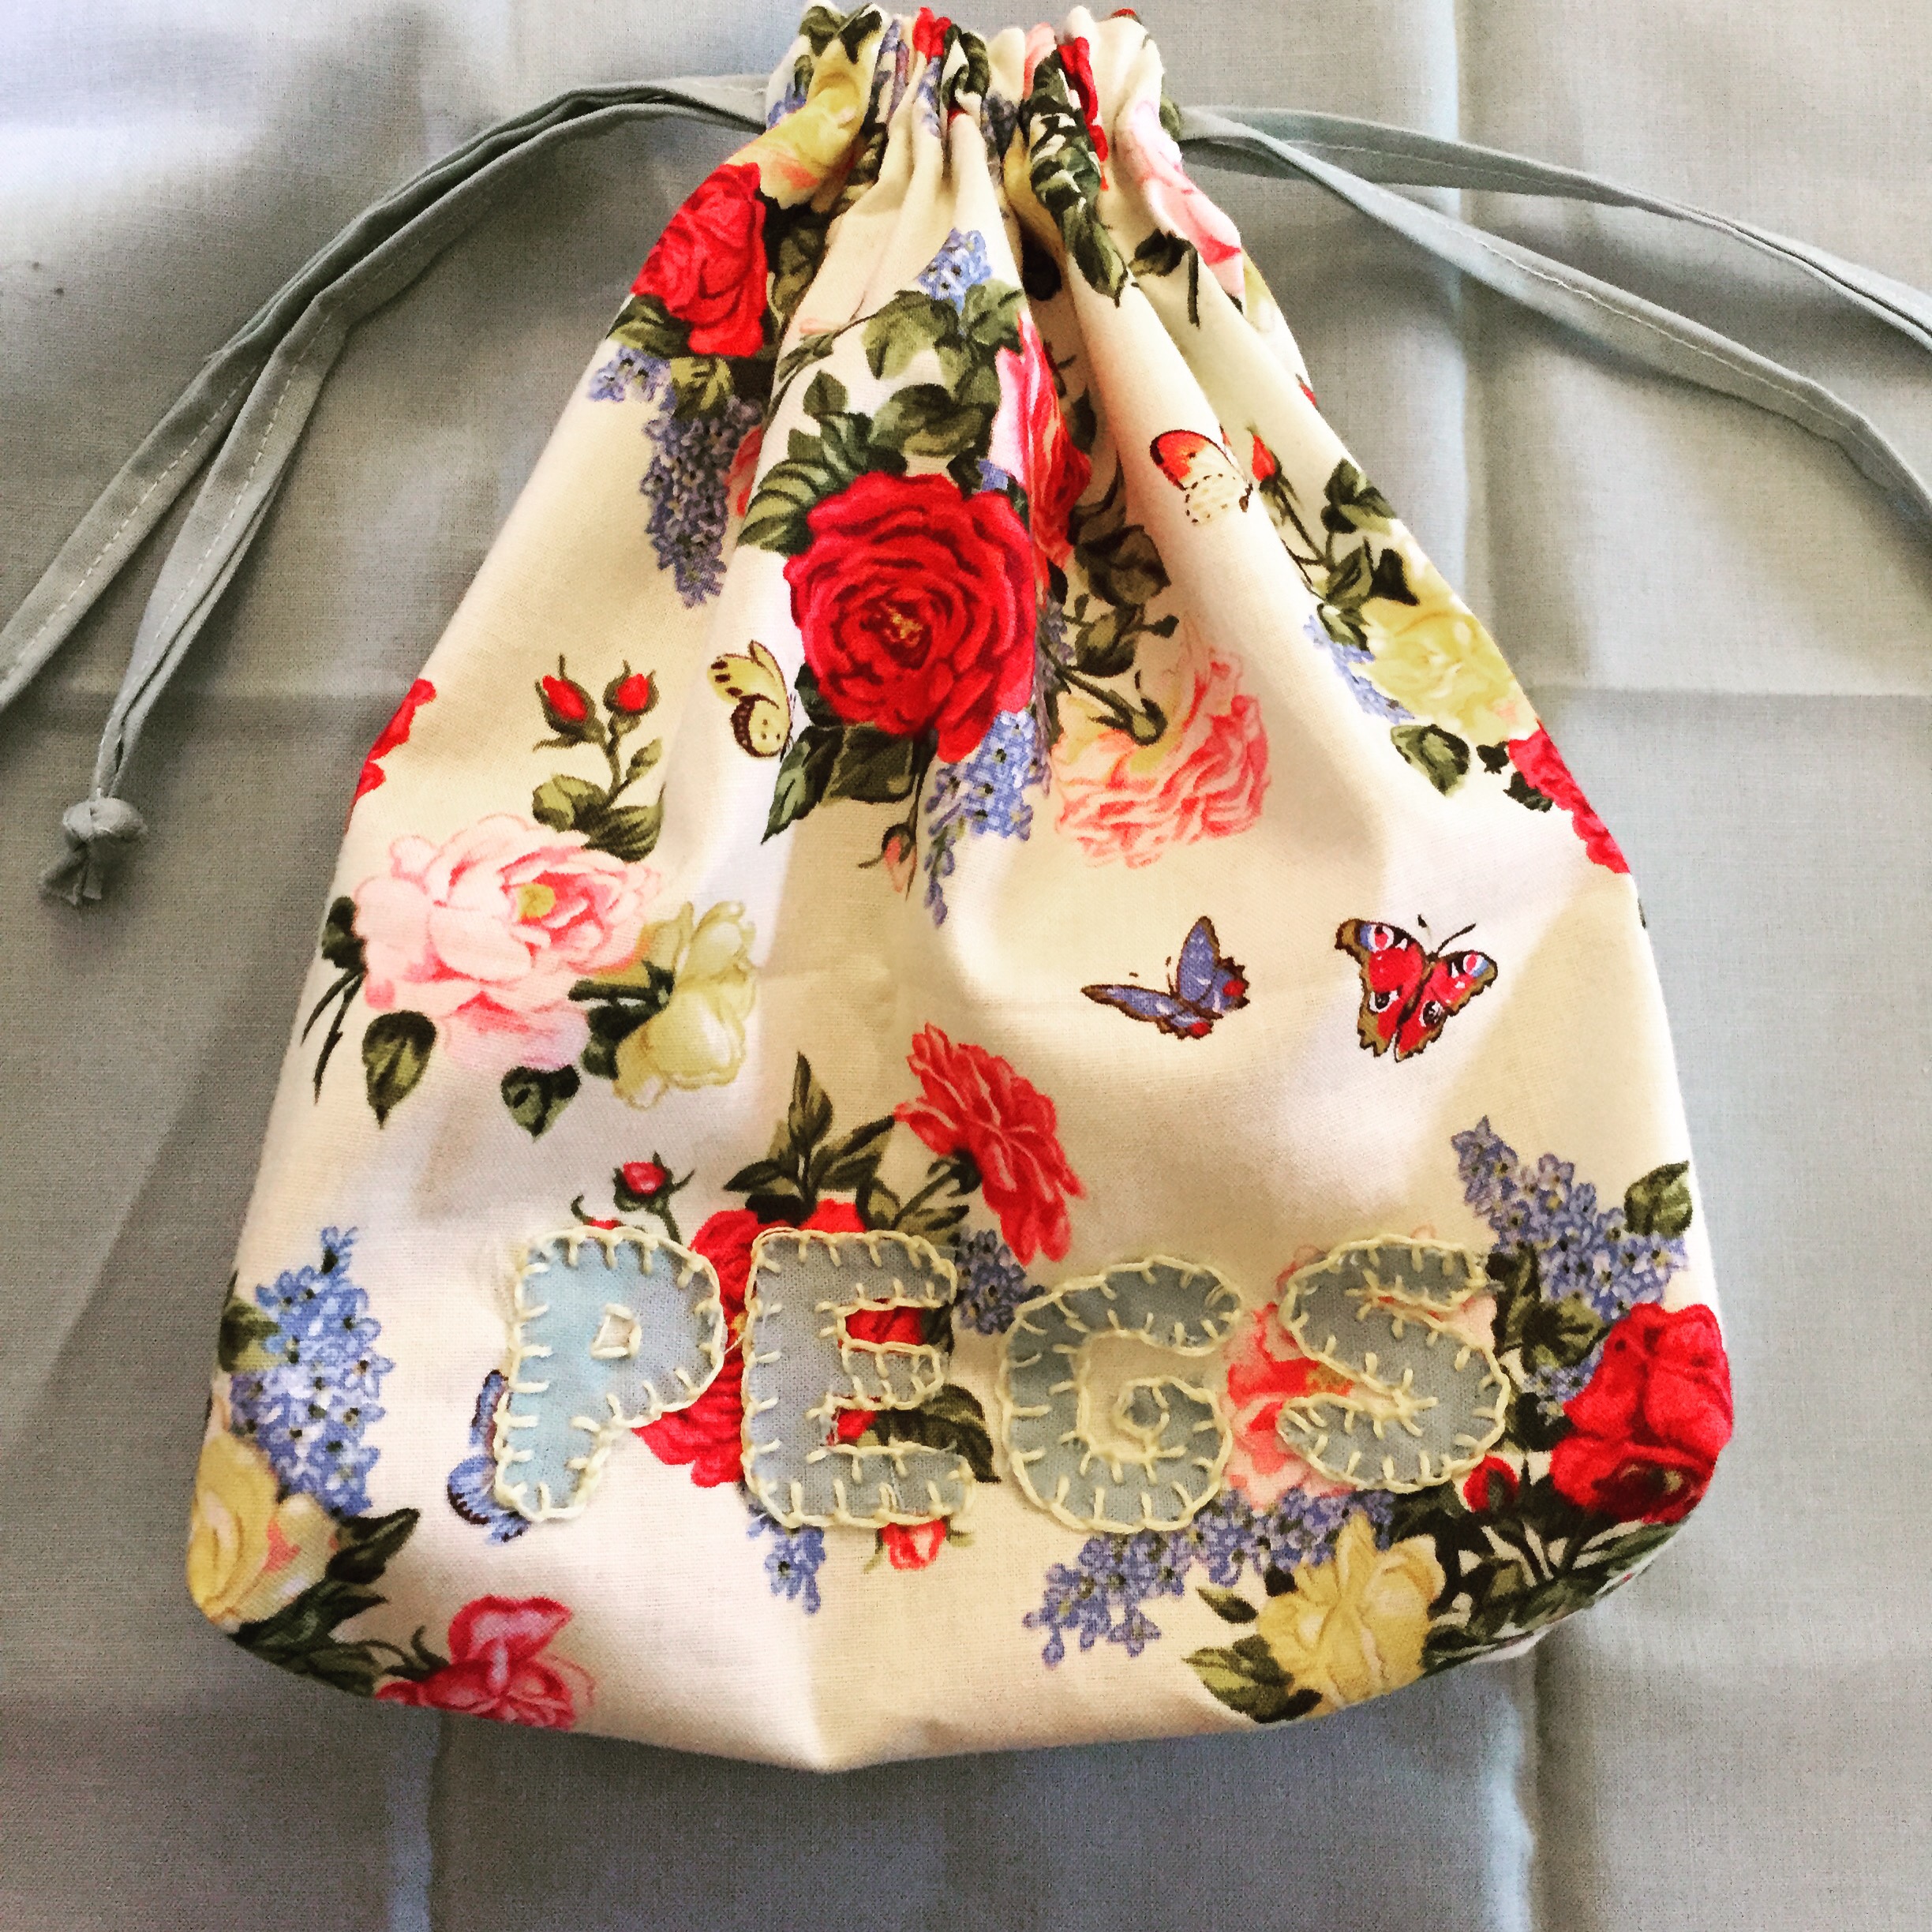
Scrappy Leather Coin Purse: This was a totally spontaneous make and it must be a hit because I’ve used it every day since I made it! I’ve become really attached to it. I never thought of myself as a small purse person before, but somehow it really works for me. It’s simple, soft, classic, and I got to try out sewing leather with my machine while I made it. Awesome!

McCall’s M6992 in florals: This is definitely one of my most worn makes. I love the colours, the fabric and the construction was a joy (apart from that incident with the two left sleeves which we shan’t mention again!). Interestingly though this is a second pattern where I had a miss second time around. I made this pattern in black lace covered jersey with solid black sleeves – exactly the same size, similar fabric, but it just didn’t come together that well. If I’m honest with myself, I think I thought the first one was so great I’d just whip up a second one in no time, and I wasn’t as careful as I could have been. It’s not unwearable, so not a total miss, but certainly not my favourite.

Burda Sweatshirt 6718: I made this sweatshirt for my boyfriend and he wears it a lot, so I think that counts as a hit! I also made a second one for my dad for Christmas, and although I am yet to see evidence of him wearing it, it does fit him and the construction was great. The second one I made was also my first full project with my new serger, so it’s a hit in terms of symbolising Serge and I finally becoming friends.

I also have an as yet unblogged hit … the Brooklyn Skirt from Seamwork. This one has been a total hit for me, from construction, to fit, to practical use! Coming to a blog post soon!

So that was 2015 … what about 2016 I hear you ask?

This year I’d love to take it up a notch … there’s a few things that I’ve not ventured towards and I’m thinking now might be the time!

  1. Buttonholes – for someone with a button collection as large as mine (I just LOVE buttons), I really do need to make more garments with buttons and buttonholes. I’ve had a very jersey focused year this year, as I love the comfort and easy care factor, but I think it’s time my buttonhole foot and I really got to know each other. I’ve never even tried one!
  2. Lining – I am yet to line a garment … I’ve always found the concept a little scary. I know however I need to master this if I would ever like to conquer my coat aspirations. I have my eye on making a Brooklyn Skirt in a wool brocade with an exposed zip which would be crying out for a lovely navy blue lining. Let’s see if I brave it!
  3. Serge – I want to spend more time learning how to optimally use my serger. I was lucky to get an amazing overlocker book for Christmas, so I think I’ll be spending a lot of time with that first!
  4. Homeware – as we are moving house this year, I’d love to try making blinds and curtains, which I’ve never done before. I think this could be a really useful skill for the future, and could also save us some money, so definitely worth a go, any tips much appreciated!
  5. Full Bust Adjustment – To be honest it’s amazing I’ve gotten away with not doing one for so long. However I’ve really come to realise that just cutting a bigger size and grading down at the waist and hips doesn’t always cut it in terms of a professional looking fit.

So that seems like plenty for me to be getting on with! I will keep you updated on my progress! Wishing you all a happy and crafty 2016!

Woman_sewing_with_a_Singer_sewing_machine

Half Yard Heaven Notice Board

Even I am the first to admit that my love of fat quarters may have gotten a little out of control. I’ve become somewhat of a fat quarter tourist, and if I happen to find a nice bundle on my travels, it must come home with me as a souvenir! I’ve been filling up a little suitcase with them, and have decided that I may as well use them for decorative purposes on display on my craft table!

A trunk of fabric joy … 

I did, however, receive a fabulous Christmas Gift which should help me enjoy my expansive collection to the maximum! My brother and sister-in-law got me this great book, Half Yard Heaven, by Debbie Shore, for Christmas, and it’s got lots of great projects in it! They are accompanied by lovely pictures and step by step instructions. It’s one of those lovely books to have a flick through when you have the itch to make something from your stash. Nothing needs more than half a yard of fabric, so it’s great for scraps too!

The first project I set my sights on was a fabric covered noticeboard. We’ve had a rather sad looking Ikea cork noticeboard in our hallway ever since we moved in. Prompted by the lovely pictures in Half Yard Heaven I decided it was a prime target for a makeover!

I chose to use my fat quarter bundle from Rowan, which contained a lovely selection of coral and black florals. One coral fat quarter was the perfect size for covering the cork board. I then made three small pockets using a couple of strips from two other fat quarters in the bundle. Despite following the book’s instructions, my pockets turned out quite small, so if I were making one again I would definitely make slightly larger pockets.

This was my first time wielding a staple gun, which was a little bit scary. PB ran for cover as I waved it about ominously in our lounge! Stapling in to wood was pretty hard work – but was worth it for the results!

I struggled a bit to get the pocket placement straight though. You end up in a vicious circle, as you can only place the pockets straight once the fabric is taught and stapled down, but if you do that, you can’t sew them on! As a result it took a bit of guess work, but for me they are functional enough! I finished the board with some thin elastic which minimises the need for extra pins. Overall I’m pleased with my finished make! It was pretty speedy too. I’m already plotting my next one for my craft room in the new apartment!

Stitchy discoveries

As I have been separated from my beloved sewing machine for the festive period, I’ve been taking some time to catch up with some sewing reading and social media! As a result I’ve found a couple of lovely things that I’d like to share – I’m sure some of you will know them well already as I get the feeling I might have been missing out for a while! 

The first one is the Seamwork online magazine! Funnily enough I got the first issue of Seamwork when it first came out (over a year ago – where does the time go?!) but never really got round to reading it. Since then there have been 13 issues! I ordered the Seamwork annual as a little Christmas treat to myself and I enjoyed reading it so much I thought maybe I would be keen for a subscription after all! I love the mix of crafty cosmetics, garment industry history, patterns and techniques! 

 For those of you who haven’t heard of Seamwork, the subscription is $6 per month – you receive the magazine to your tablet/phone or PC and you also get two credits to download 2 patterns of your choice! I was amazed to discover that I have access to use those credits on any of the patterns from the extensive library and if you don’t use the credits they just roll over to next month! I was also happy to discover that I could download all 13 previous issues so I have been merrily reading those! 

The hardest part is choosing what to spend my credits on – so far I want to make all of the patterns! Seamwork promise that all patterns take 3 hours from cutting to finished garment so they are perfect for weekend projects! My particular favourites are the Brooklyn skirt and the Camden cape, so I know what my first two credits are going on! Expect to see some Seamwork garments on the blog in the new year … 

The other discovery I have made (facilitated by reading Seamwork) is a world of stitchy podcasts! I suspect I’m quite behind the rest of the craft world in discovering these, but they are such fun to listen to! My new favourites are Seamwork radio, Modern Sewciety and Thread Cult. They’ve inspired me to do a bit more research in to finding new favourites for when I’m traveling! When I’ve compiled my ultimate playlist, I’ll be sure to share it with you! 

How about you? Are there any other crafty discoveries I’ve missed? Do you like listening to podcasts and have any recommendations for me? 

I hope everyone is enjoying the festive period! 

Making Moneta

cp1028-moneta-cover-med-78fca34c96d9d6237c06b04d60a25649

It’s been a busy busy time recently, which hasn’t left much time for sewing or for blogging. When I have been sewing, I’ve mainly been squirreling away at a couple of Christmas gifts that have taken a serious amount of man hours! I’ve managed to finish them now, but won’t be able to share the finished results with you until Christmas, so in the meantime I thought I would share my unblogged Moneta with you. 

Moneta was my pattern of choice for my first ever sewing class. I chose the pattern as I wanted to learn more about bodice fitting at the class, so thought a dress would be a good choice. It was also my first attempt at side seam pockets and shirring with elastic, so all in all it offered a good number of techniques to get some help on! 

The fabric that I chose for this dress was a touch on the expensive side at 28 euros/m, which notched up the sewing fear factor a bit further! I’m glad my teacher encouraged me to choose this fabric though, as the quality is fantastic and I feel like I have a classic and timeless dress now that will last a lifetime. I do refer to this fabric as the sea sick fabric though, as it has tiny white dots on it and when I was sewing the hem I got a sort of car sick feeling from watching the dots go through the machine! It seems to mess with your eyes …. No pain no gain though! 
We made quite a few alterations to the bodice and sleeves. On the bodice we added some extra on the width as the fabric didn’t have much stretch. We also added 4cm to the sleeves to account for my bingo wings. The sleeve alteration was a great learning point for me as I finally got my head around using the finished garment measurements on a packet to work out if something is going to fit before you sew it. It’s simple now I know, but as a self taught sewer I’d never worked it out! After sewing up the bodice we also added a bust dart to get a better fit up top which seems to have worked really well. 

In terms of construction this dress was really fun to make. I got a bit lucky with the shirring on the waist as I eyeballed it rather than using four separate sections as the pattern suggests. It seemed to turn out just fine though! I loved learning how to do side seam pockets – now I want to add them in to everything! I also got my first go on an overlocker making this dress – we overlocked the hem before sewing it down which produced a nice tidy result … And my desire to get my hands on such a wonderful machine!

My sewing teacher insisted that we add a facing to the neckline, as she didn’t think much of just hemming the neckline as the pattern suggests. It was great in terms of learning how to self draft a facing, but to be honest I’m not sure if I agree with her that it was necessary (shhhh don’t tell her) as sometimes it likes to make an appearance when I’m wearing the dress. 

My final verdict is that I love this dress though, and I really love the pattern. It’s a flattering shape for me and the pockets and sleeves make it very wearable. I wear it  all the time to work, it’s become a real favourite. It’s also been on business trips crumpled in a suitcase and still come out completely wearable. I’m planning on making another one of these in a jewel tone purple which I think would make a lovely Christmas dress with lots of room for turkey!! Despite me wearing this dress all the time, we’ve still not managed to get a picture of me in it in daylight, so Maud has kindly stepped in! She doesn’t wear it as well as I do though! 

 
Have any of you tried Moneta? Did you love it or hate it? Do you have any other great jersey dress patterns for me to try? 

My New Toy

Today I thought I would introduce you to someone special – my new toy – Serge! Serge is a Toyota SLR4D Overlocker (serger) and I feel like the luckiest girl in the world to have been gifted it for my birthday by the lovely PB! Here’s a shot of me when I’d just opened the box – you can see that I was one happy lady!

One happy lady!

I’d been considering purchasing an overlocker for the last few months. With making pretty much all of my clothes now, it seemed like a sound investment, and you can’t argue with the professional finish it gives to seams. However, I didn’t really feel justified in biting the bullet, what with saving up for our new house, so I really did feel extra lucky to receive one as a gift. I’d been looking at a couple of models, however the ones with the best reviews in my price range had really only been the Toyota and the ever popular Brother 1034D. PB had cheekily asked me one night to show him what I was looking at (little did I know he was scoping me out for gifts!) and I happened to see that the Toyota was on flash sale … I still couldn’t justify the price though and spent the next few weeks telling PB what a great purchase it would have been. Little did I know he had sneakily gone and bought it for me!

Serge fresh from the box

Serge and I are still very much getting to know each other. I’d used an overlocker before at my sewing class – and I am so glad I had at least had a few tips to get started. I had heard real horror stories of 3 hours + to learn to thread it so I was quite worried. Although mine had come pre-threaded, something had gotten tangled, so I had to start from scratch. Although not easy, I would say the threading wasn’t too bad. Maybe 45 minutes for the first go? I learnt one key thing: it’s the order you do the threading that counts.

  1. Lower Looper
  2. Upper Looper
  3. Right Needle
  4. Left Needle

Amazingly this makes all the difference! Feeling triumphant that I had threaded the serger, I thought I’d dive in to a project. This was a huge mistake – I think I picked a bit of a tough fabric with a lot of stretch and I just could not get the tension right. After that I packed Serge away again (not in a huff, honest!) until I had some more time to fiddle with the dials … it is all in the thread tension and understanding which thread on your fabric comes from which cone of thread. To help me with this, I found some great online resources which I wanted to share with you:

SewMcCool’s The Anatomy of Perfect Serger Tension has some fantastic colour coded photographs which help you identify which thread is which – I’ve referred back to this one a lot already!

Sew Quick and Easy’s Youtube video on Basic Serging:Tips and Tricks is also great. All I can say is I wish I’d listened to Susan and spent time making a fabric chart of all my thread tensions. It would have saved me lots of trouble!

Serge and I are getting along much better now, although I certainly still don’t feel confident with him. I did some quilting on my beloved Pfaff today and felt so comfortable and at home. I just have to remind myself that once upon a time I used to feel nervous with my sewing machine too! It’s all just a learning curve! This evening I re-threaded Serge in some navy blue thread – I have three Navy projects to work on in the future so it seemed well worth it. Project one involves sweatshirt fabric, project two a low stretch navy woven and project three a crepe georgette. All of them will offer some good opportunities for Serge and I to cement our friendship! I will let you know how it goes!

Serge in Blue

Reversible Baby Skirt

If you’ve been reading my blog for a bit, you will know that I love fat quarters! I love their prints and how cute they are – the colours and the different patterns. I love the cute animals and the comical ones – basically all the ones you buy when you have no idea what exactly you are going to make with them! I’ve been having a bit of a tidy up of my craft stash of late (trying to make space for my new serger on my tiny Ikea table!) and I realised that I really do need to do something about my fat quarter stash!

I saw a little Ra Ra skirt recently to purchase for soon-to-be-here niece and thought they are a great choice for new babies, but you had to be able to sew them yourself in some cute prints. Luckily this amazing free pattern and tutorial for a reversible baby skirt crossed my path and answered my baby ra-ra-skirt and fat quarter stash dreams. I loved how simple it is and the different effects you can get by combining prints and decided I had to give it a go!

While tidying out my stash, I picked out these two cute prints along with some contrast bias binding I had been gifted and had waited to find the right project for. This project seemed just the one!

I purchased the fat quarters during Tschibo craft week and have been super positively surprised by the quality of the cotton. I love the contrasting prints! So perfect for a newborn baby girl gift! Hearts and polka dots, what’s not to love?

This pattern is ridiculously simple – I didn’t even print the free pattern as it was a bit of a spontaneous make this evening, so I just improvised by drawing round a plate to get a good curve on the waist. You pin the two donuts of fabric right sides together and stitch the inner circle and you are already on your way to skirt cuteness!

After that you turn them the right way out and sew around the circle again to create a channel for the elastic. Once the elastic is in, all you have left to do is bind. The binding is a little fiddly and seems to go on forever (but aren’t all circle skirt hems that way?!) However, it was good practice for me on using bias tape, so that was good. I was proud that I just worked out by myself how to attach it.

Overall I am delighted with my finished make. There is nothing on it I would change for once! I can’t believe it only took me an hour from start to finish – such a great project for when you have an itch to stitch but you don’t want to start anything major. Now I am ready to make a whole package of these to gift to friends and relatives. I can picture a matching set of three in a little gift box tied with a cute ribbon. What do you think? What a great way to use a fat quarter!

Oh also, I forgot to mention the best bit, the skirt is reversible! Two skirts for the price of one!

Unfortunately I don’t have a baby to help me model this skirt in all its cuteness, so I called in a friend to help …. meet Dave, our friendly household Minion!

Dave and I wish you a great rest of the week filled with stitching and crafting!

Winter Patterns and Projects

Winter-trees-winter-22173860-1920-1200

I’m not quite sure how it happened, but I woke up this morning suddenly aware that winter is coming! This year I am planning on doing a couple of handmade gifts for Christmas, as well as sewing much more of my winter wardrobe, and I’ve realised that I’m going to need to get a wriggle on and do some planning! Looking back at my Autumn Sewing Plans post, I’ve managed to make quite a few of the things I was planning for, as well as a lot of extras I didn’t plan for! My particular favourites have been the Tilly and the Buttons Bettine Dress (of which I have made many) as well as the Tilly and the Buttons Coco. However, I am yet to make Mathilde or the ByHandLondon Charlotte Skirt, both of which are now rolling on over in to my winter sewing agenda!

In addition to those, I have added the following to my sewing agenda for the next few weeks:

wren dress

The Colette Patterns Wren Dress has been taking the sewing community by storm since its release a couple of weeks back. I loved making the Colette Patterns Moneta, so I have high hopes for the Wren Dress. It’s a style which I think will be very flattering on my figure if I can get the fit right, so I am planning to whip one up in one of the jersey fabrics that I bought at Stoffmarktholland. I think maybe a jewel tone purple could be great for a Christmas dress with a nice blingy necklace?!

mccalls 6886

The McCall’s 6886 dress is also on my list – it looks like a great staple basic to make for work! I’ve seen a couple of people on Instagram post great photos of these – the shape of the pattern looks really versatile for many different fabric colours. The sleeveless version might also make a great dress for my Cambodian holiday!

In addition to that I’m also planning a second Grainline Studios Morris Blazer in Navy (post coming soon on the first one!)

As if that wasn’t enough, I couldn’t help but be tempted by Sew Magazine’s Chris Moose.

chris moose

How cute does he look? I’ve got to find time to squeeze him in!

So that’s going to be me busy stitching for the next few weeks! I’m also going to be learning to use my new overlocker which the PB bought me for my birthday (and the best ever boyfriend award goes to …. *drum roll*), so watch out for more news on that soon as I learn to thread the blighter! Fingers crossed it’s not as scary as people would have you believe! Wish me luck!

Cuddly Cushions

My Sunday sewing challenge this week came courtesy of one of my lovely girl friends, who was looking for me to whizz up some new cushion covers for her pillows. We agreed she’d bring them round and I’d see what I could do while we had a bit of a natter.

My friend added some extra fun to the challenge by choosing some lovely wool stretch knits to cover the cushions in! I’d never done cushions in stretch before, but thought I would give it a go. These are the fabrics that my friend brought round:

The following two are actually the same fabric, just the right side and the wrong side. What I love about this fabric is the little sparkly bits that shine through. Subtle but still a touch of glamour!
  

I actually love these fabrics so much, I kind of wish I had found them for a clothing project. I might head over to Karstadt and get some to make a jacket or a dress, they are just so lovely!

We weren’t really making covers for the pillows as much as covering them permanently, so the technique was nice and easy. Essentially I cut the fabric on the fold, about one centimetre smaller on each side to account for the stretch (there’s nothing worse than a saggy cushion cover!) I then sewed up on both long sides in a normal running stitch. This then left us with a tube which we stuffed the pillow in – it was a bit like pulling on a pair of tights! Then I left my lovely friend to hand sew the final short end opening closed while I got on with the next one. In the end we had a nice little assembly line going!

I’m always a bit nervous to sew up things for other people, especially when they have paid for fabric. I never want the final result to look dodgy and they feel disappointed. In the end though the pillows turned out great – I wish I’d made them for my couch! The best thing about them is that they are nice and soft and cuddly on account of the wool. They’re also nice and plump due to the covers being stretched over the pillows. I love them and I think they look quite chic!

Here’s a before and after:

Before …

… and After …

I hope my friend enjoys cuddling them as much as I did! What a great job she did on choosing the fabric, don’t you agree? How about you? Do you sew things up for friends? Have you ever used jersey knit for pillows? I’d love to hear about it!

Bettine Dress in Bird Print

If you have been following my blog for a while, you will already know that I have a small obsession with Tilly and the Button’s Bettine Dress pattern. Since buying the pattern, I have already made two of these, one in chambray and one in floral jersey. Today I want to share my third with you!

This Bettine  is made of a rather expensive jersey in the most adorable bird print! I cut my usual size – 7 on top and 5 on the bottom and it came together quite nicely. I’m starting to wonder if I could go to 6 on the top and 5 on the bottom though to take some fullness out around the width of my back. As usual I also took out the tulip style skirt – for some reason this just isn’t flattering for my figure and also doesn’t seem to work so well in jersey. I normally sew up as normal and then just take the extra curve out by taking in about 1.5cm at the deepest part of the curve, which has been working for me quite well.


In terms of the construction of this dress, I could have kicked myself a little with the neckband. I’ve ended up with a bit of a pucker on one side. On reflection now I really wish I’d unpicked it and done it again as it bugs me knowing it is there. I don’t think you’d really notice unless I point it out but it annoys me anyway! Funny how you can make a dress three times and still get it wrong on the third go when the other two went just fine!

The other special thing about this dress is that the fabric rolls up on itself all the time! It is so frustrating and no amount of ironing seems to help! As a result the bottom hem seems to be a bit dodgy … Any top tips for that people? To me it just proves my argument that I really do need an overlocker! Apart from that complaint though this fabric is a real treat. It’s so comfortable to wear and I love the fun print.

I thought this might be a good time to introduce you all to Maud – my new dressmaker’s dummy. I was very fortunate to acquire her for a mere 25 euros from a lady who was clearing out her sewing studio. She wasn’t quite as busty as me on top so at the moment she is wearing some rather funky sock padded undergarments. As a result she must remain fully clothed at all times. The undergarments really seem to do the trick though! Maud is mainly here for me to take blog photos, pin hems and display my work, so it’s ok that she’s not quite my size. Right now the PB and I are just getting used to having her around in our lounge! You may be seeing more of her soon!

So here is Maud in my finished Bettine:

Do any of you have a dressmaker’s dummy? How did you get her to suit your shape? Any tips on working with rolly knits? I’d love to hear from you!